
3 Steps for Planning Any Room Makeover
So you hate your (insert name of room here). You’re ready to do something about it, but you’re not sure where to start. Or maybe you charged ahead, got started and are already stuck…

BEFORE 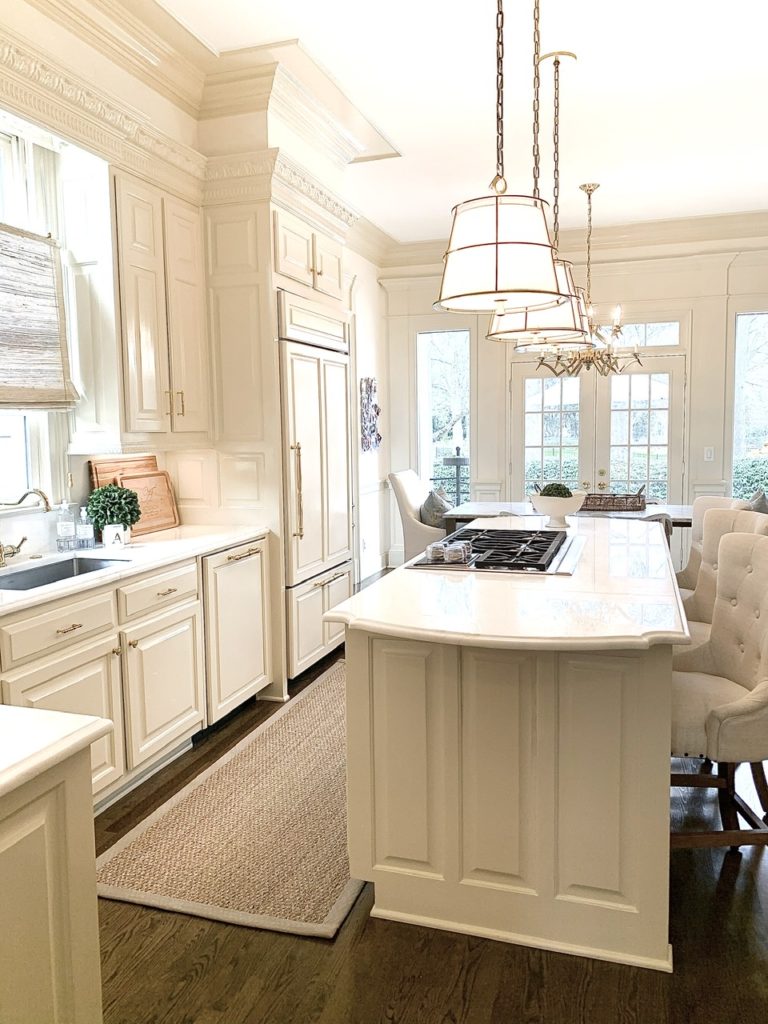
AFTER
I can relate, and I’m here to help! Two years ago, Mr. Bright tried to get me to agree to our current, 30-year-old home, chock full of charm (and projects) and NOT make any changes to it for the first two years. IT WAS A HARD NO FOR ME. Like who moves into any home and does nothing to it for two years? Not even paint a wall? NEVER.
But, I’ll admit, the kitchen in our house was orange for the first year we lived in it (floors included), complimented by green counter tops and a contemporary green back splash.
I’m not saying we had the worst kitchen ever. What we had was definitely someone else’s dream kitchen, and I’m not knocking it! It just wasn’t for me.
We recently updated said kitchen, and I’m sharing three steps we SHOULD have taken, which would have made our project much faster, cheaper, and bearable. We made all of the “not planning” mistakes, so you don’t have to! These three simple steps will help get you started right away on your next room update AND save you time and money.

Reason I agreed to a kitchen I didn’t like.
Let’s just assume that you have legitimate reasons for wanting to change or update your room, and it IS going to happen. So now what? We’re going to cover an easy plan to help you think this through, without getting too technical.
Step #1: Decide what you want to get out of this makeover. This step is critical to your happiness when the project is all over. Ask yourself some key questions: What are you trying to achieve with your room update? What matters most to you? Is it a function? A mood or feeling?
For our kitchen makeover, I knew I wanted something bright, white, and elegant. There is no right or wrong answer here–just define the end game, and write it down. This will guide you as you choose each new element in your room.

#MOOD
That’s where Step #2 comes in and where our mistakes are going to save you time and money. Personally, I didn’t have any trouble on the vision part, but the execution… let’s just say it was touch and go…. FOR. A. YEAR.
Step #2: Make a plan. This seems obvious, but I know I’m not the only one to just get a wild hair and start tackling a project without a plan. I often attempt the easiest or cheapest thing in a room without completely knowing how the whole thing is going to shake out. I do all this in the cloak of darkness because MOM LIFE. Then the morning comes and Mr. Bright sees my half-cocked, incomplete project and gives me the eye roll. Just me? Ok, well… you STILL NEED A PLAN.
At minimum, draft something that includes key elements you want to change, proposed budget, and a rough timeline. This will get your initial vision to paper, and then you can really start to iron things out in the next step.
I knew I wanted to eradicate all things orange and green, spend as little money as possible, and have it done yesterday. So I should also mention, your plan needs to be REALISTIC.
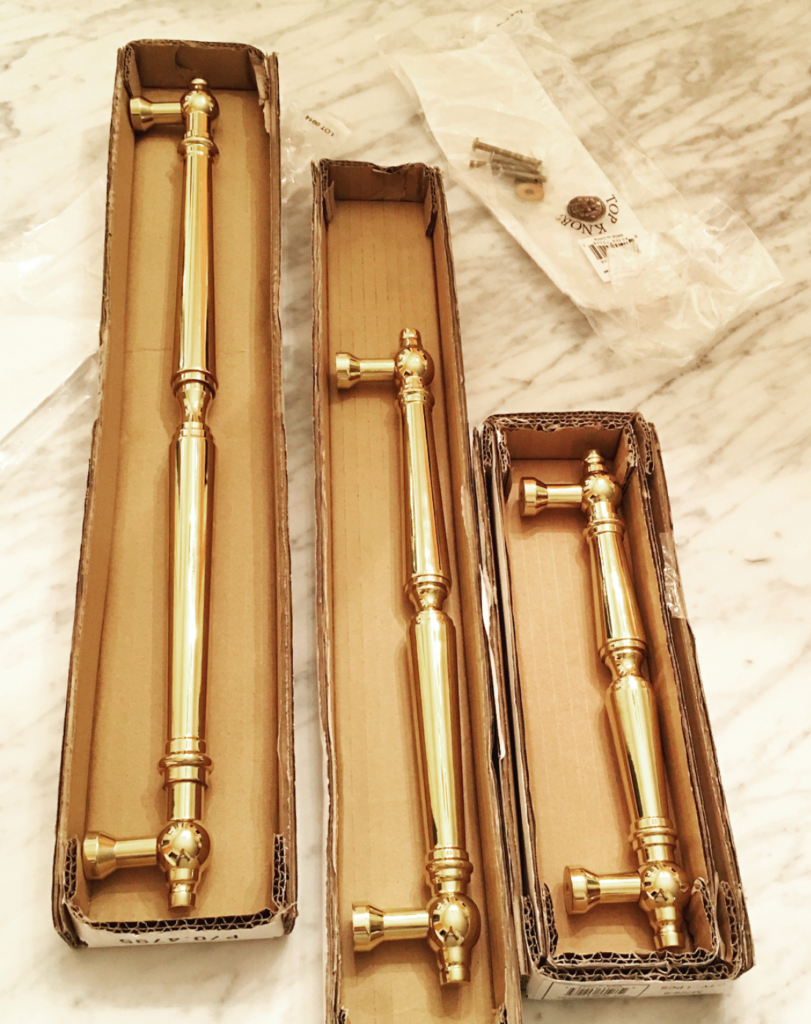
Where the “no plan” problems started = $500 in appliance pulls.
I probably don’t need to point this out, but Step #2 is inextricably intertwined with Step #1. If you want a successful outcome, you really can’t skip either one, and one can’t live without the other. Make sure you complete both steps!
Our kitchen? I started with the cabinet hardware. What? What’s that you say? Why would I start with cabinet hardware while the rest of the joint stood screaming orange and green at us all day and night long? I’m going to tell you why: I DIDN’T HAVE A PLAN.
And that is the reason we served our first holiday meal in this house on a card table in a green and orange kitchen I didn’t like. But hey the cabinet hardware looked good (insert eye roll here). How many more times do I need to learn this lesson? Zero more times. Trust me when I say, you NEED a plan. Let’s move on.
Not pictured: holiday dinner on a card table with a sad, paper table cloth.
While we are on the topic of planning, here is something to consider: Keeping the layout of your current room is one of the easiest ways to save money, so if you can live with it, DO IT.
This is one mistake I didn’t make, because BUDGET. I didn’t hate our kitchen layout. Are there better layouts? More modern layouts? More open? Yes. Do those other kitchens live in the neighborhood we wanted to live in with a pool in the back yard? No. Did I have a 30k budget for this kitchen update? No. And here we are.
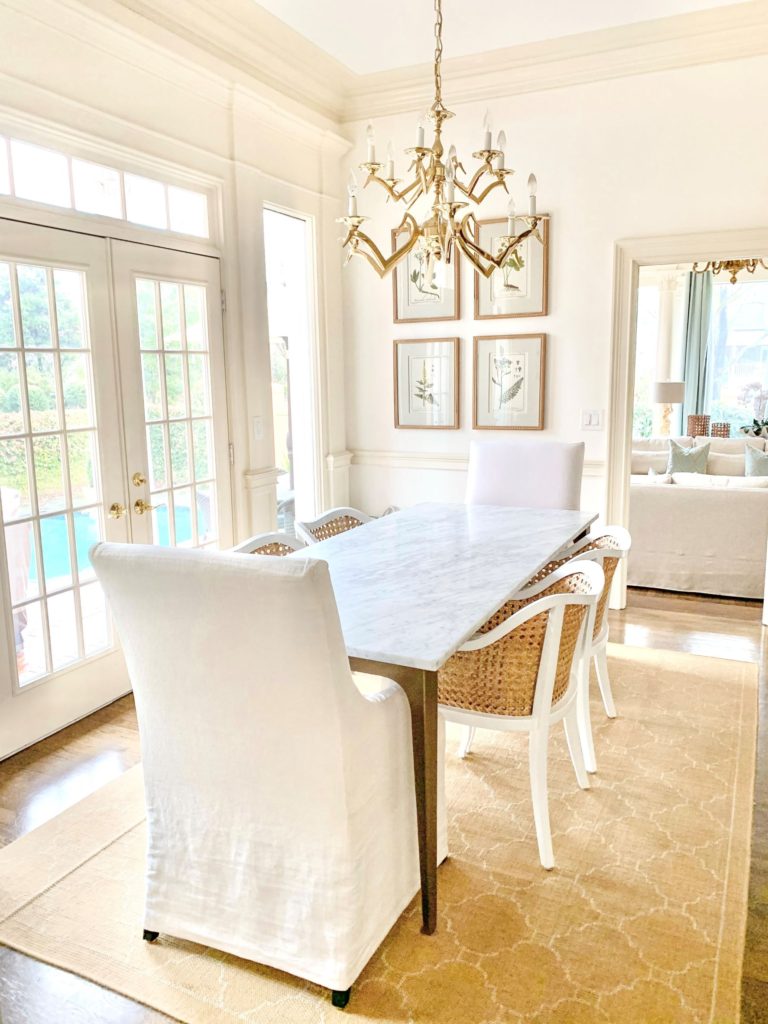
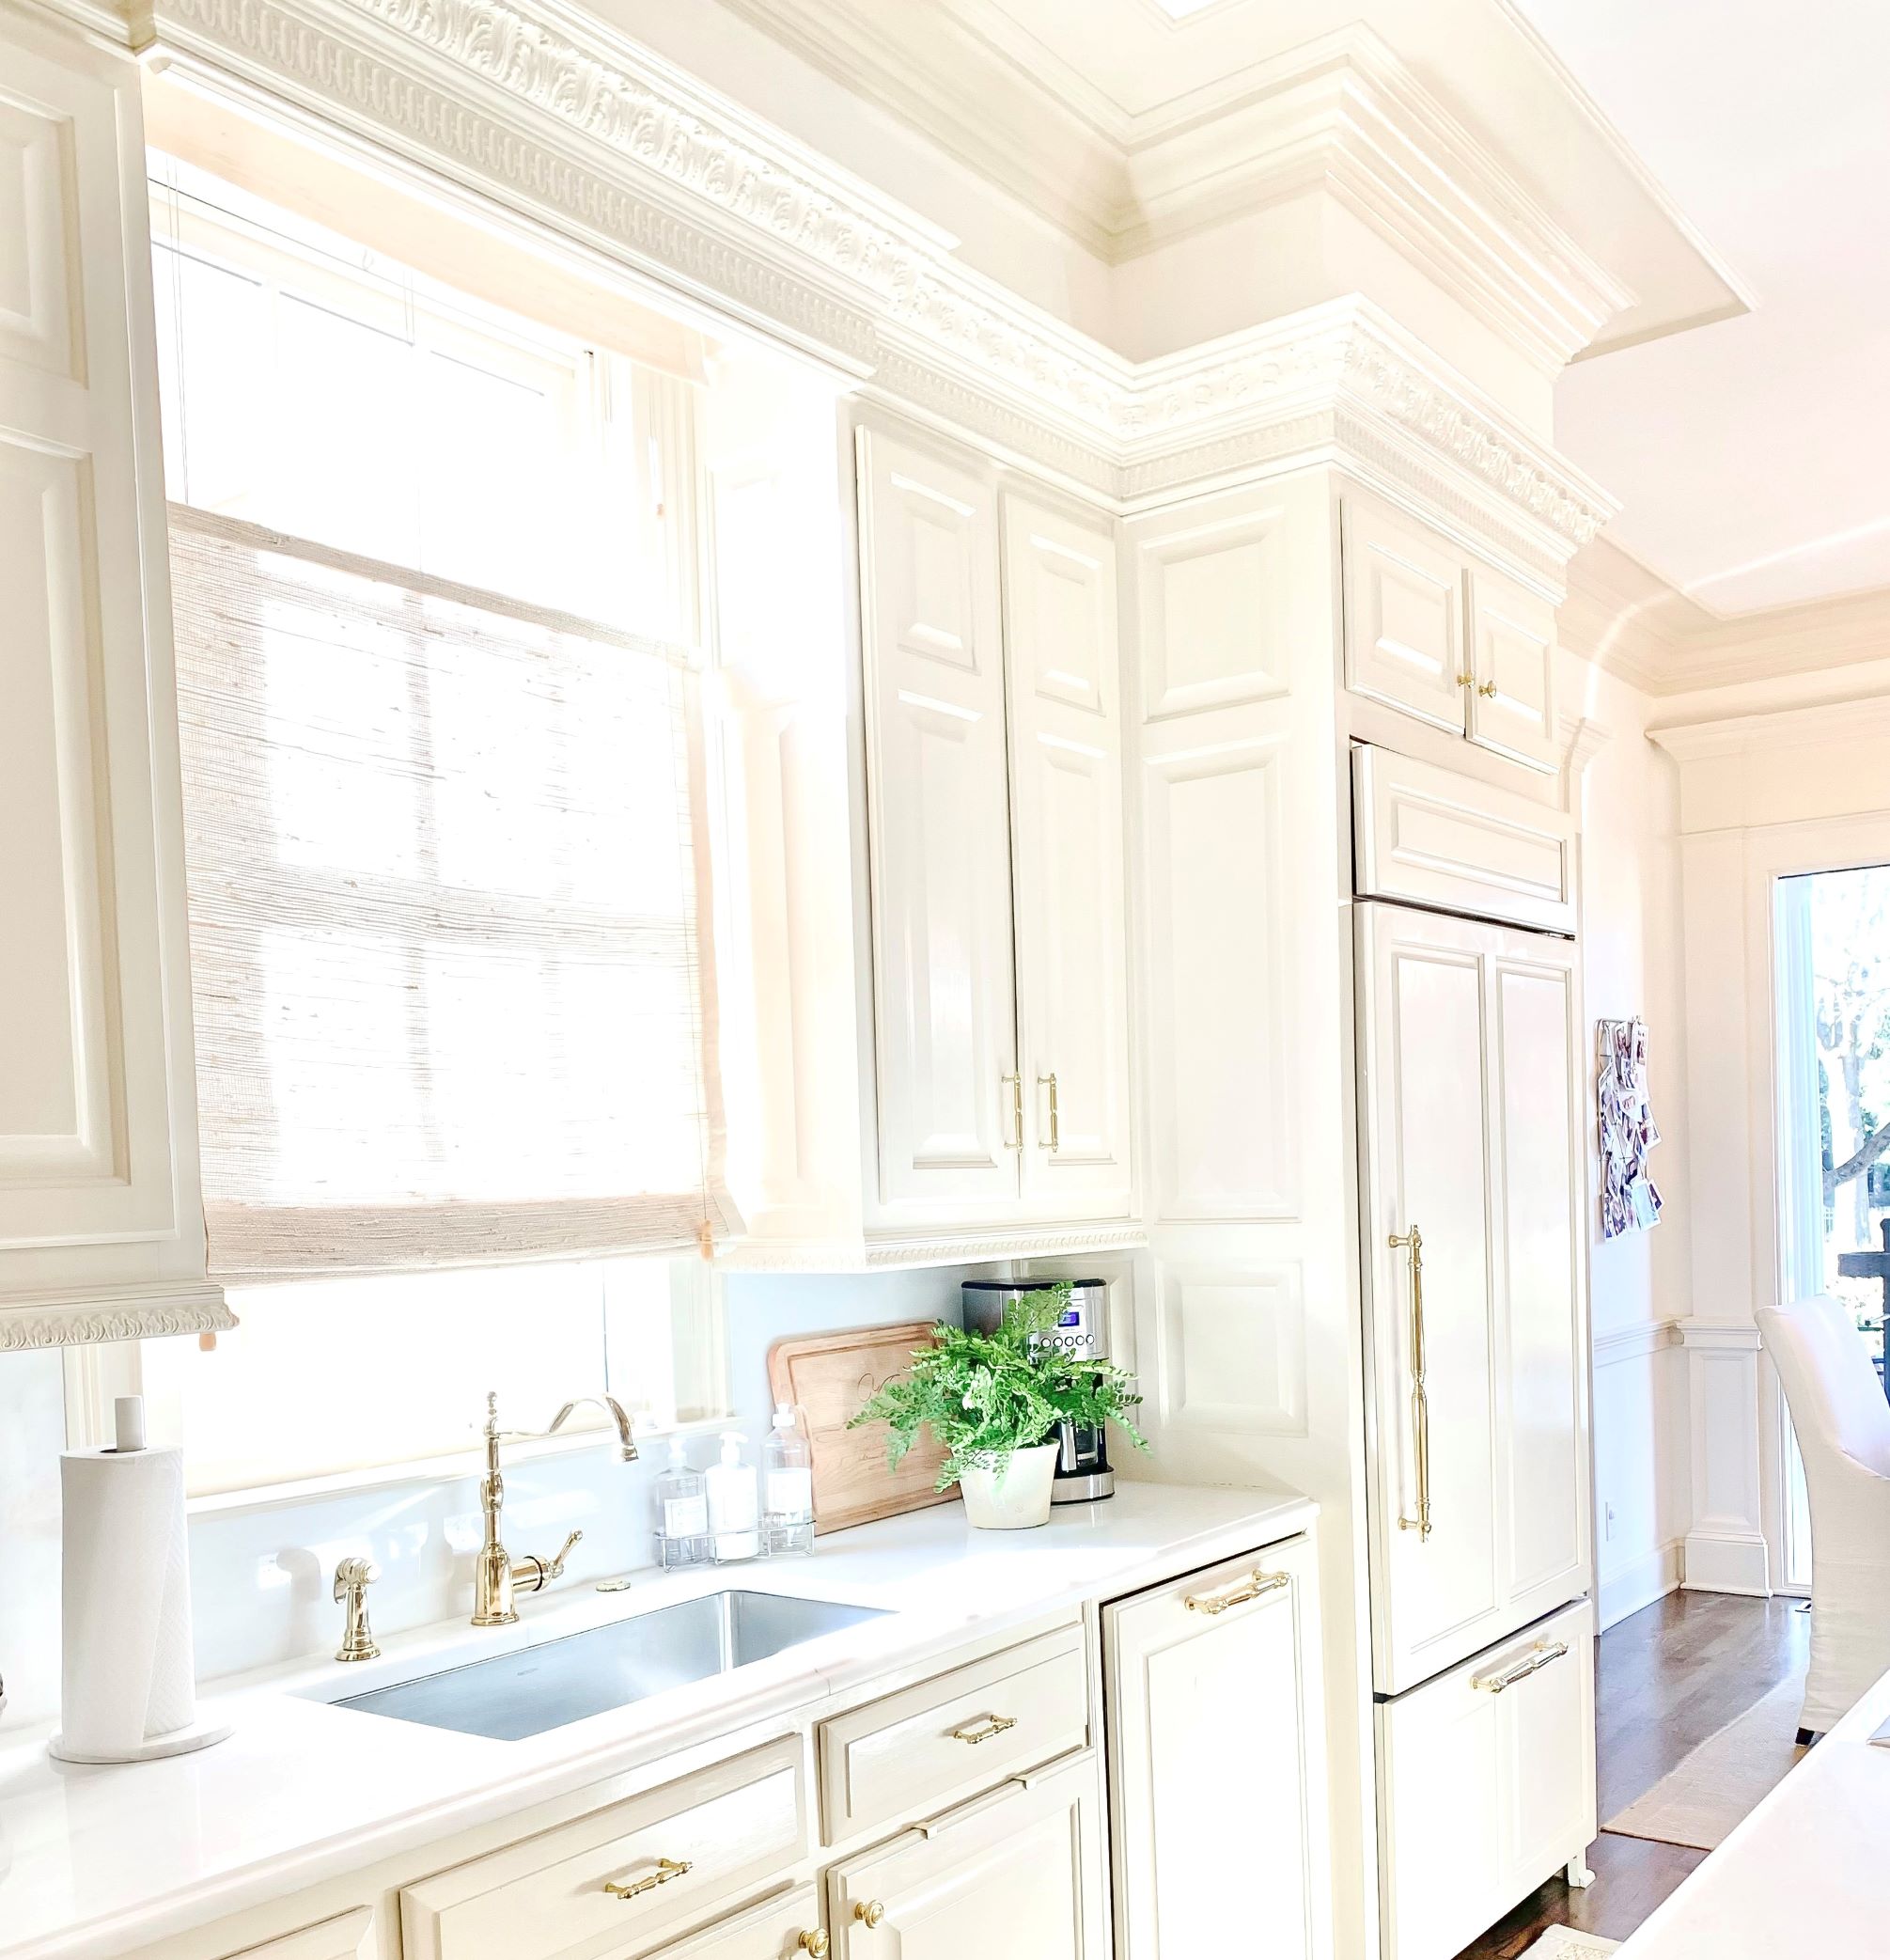
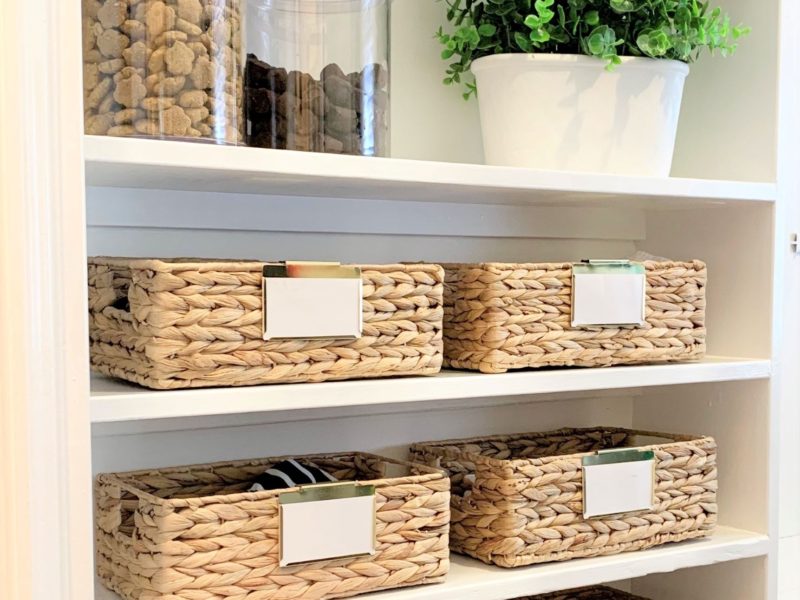
New floors, wall color, light switches, door hardware, & furnishings
Now that you have a defined goal for your room update AND a rough plan, you may feel like it’s GO time, and if you’re anything like me, you’ve already been to the paint store and have 1,983,234 paint samples taped to your walls. You’ve got to make your rough plan into something you can execute on though, without going over budget or worse, not being able to the finish the project due to oversights. Which bring us to Step #3…
Step #3: Consider the details. Evaluating some of the smaller details of your room makeover will save you money and arguments with your spouse time. Here’s an example. We needed to change out switches and outlets, not just the face plates, or they would end up being major eyesores on crisp, white kitchen walls. No biggie, right? Except that our house is over 30 years old. Modern light switch wiring + 30 year old wiring are not things a non-professional should attempt to marry. This little snafu meant a delay in the project and an increase in budget.
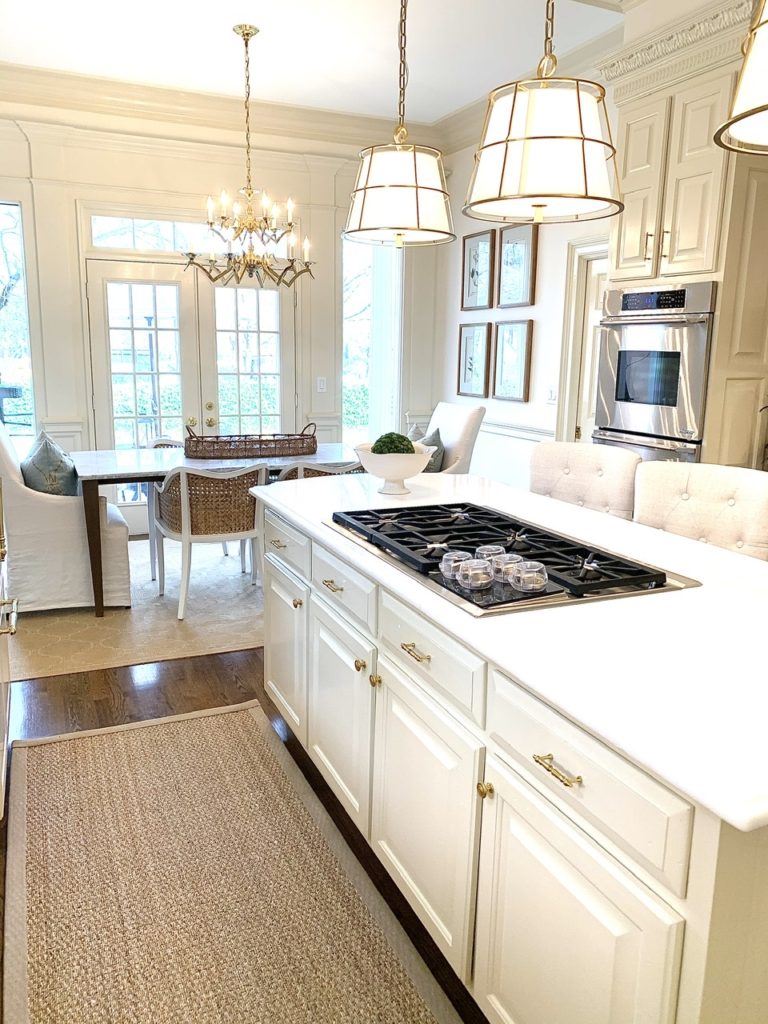
New cabinet hardware, flooring, counters, island pendants & furnishings.
I also wanted to add two light boxes over our island = maybe $300? Except that our ceiling beams run from side to side, requiring drilling through every beam to run the wiring. This also required more budget!
This is not all about trying to think of things that could go wrong. There are plenty of FUN details to consider! One extra we hadn’t originally planned was hidden outlets. I am so glad we did this and went with a seamless back splash. It really took things up a notch and didn’t add much to the budget.
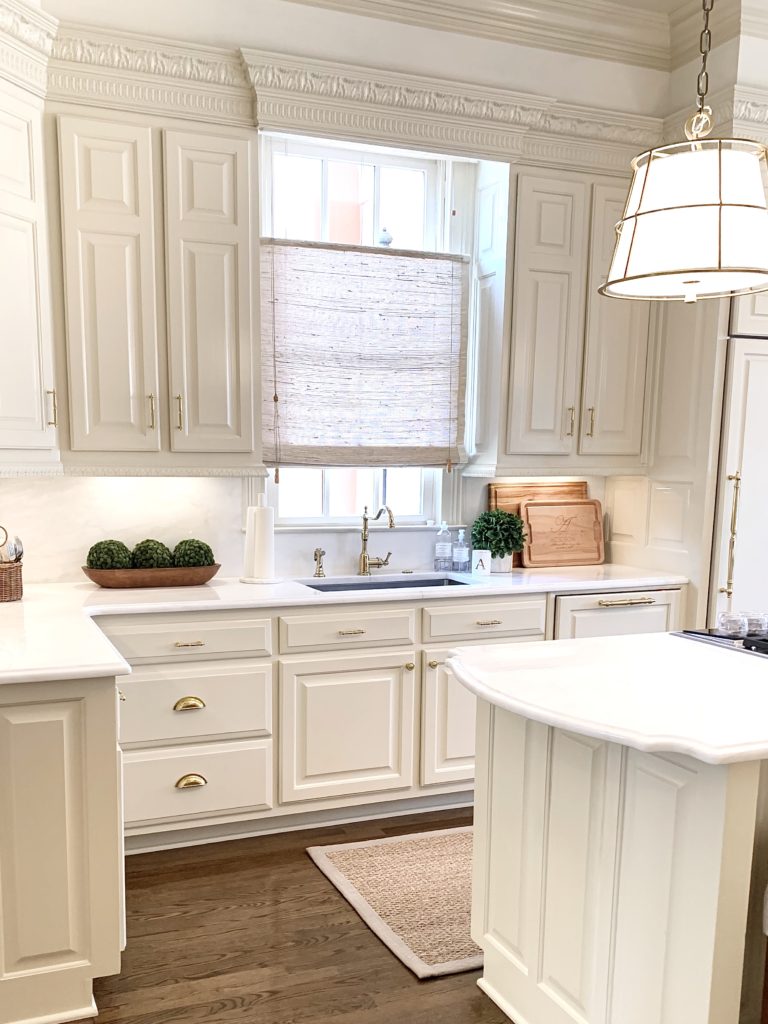
New faucet, sink, counters, back splash, & window treatment
It’s time to go back to your plan from Step #2. Walk through your room…what are some smaller elements you hadn’t thought about? What are some possible hiccups you may need to consider? Are there some details you are going to need to add or remove from the plan and budget?
We decided to forgo any updates to the cabinets, other than the hardware, to accommodate for some of the extras that came up along the way. The color wasn’t bad, and the paint was in good shape.
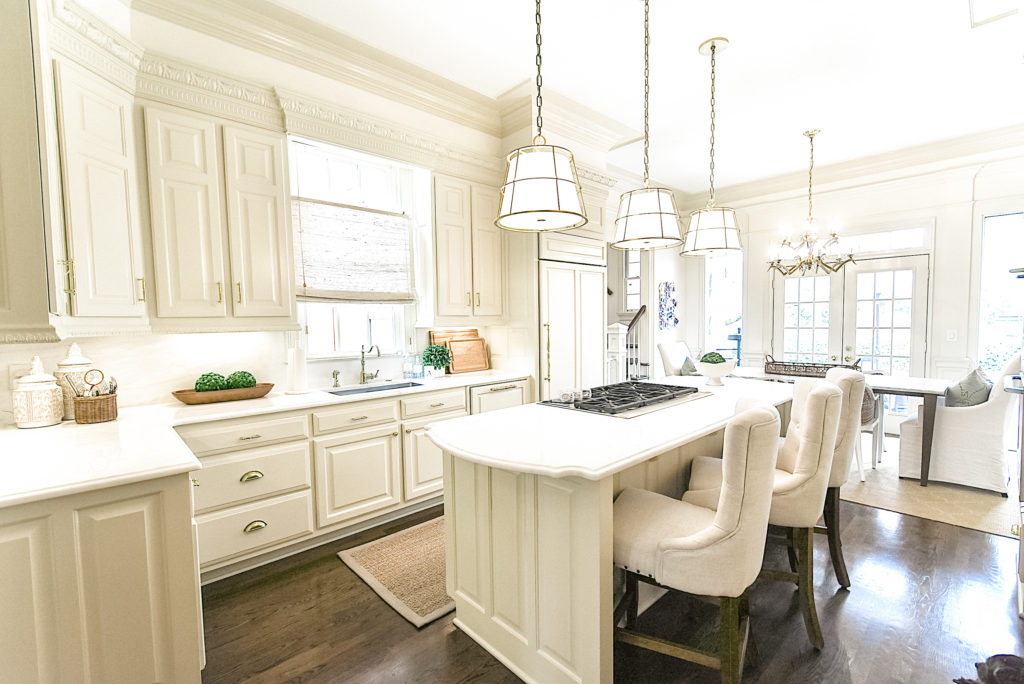
Kitchen Makeover Summary: New floors, counters, back splash, lighting, hardware, faucet, sink, wall color, outlets, light switches, vents, & furnishings
Now update your plan with your new considerations, adjust your timeline and budget, and you are ready to execute! You can still start with the easiest or most affordable part of the makeover and chip away as you have time and budget, but this way each individual piece is part of a full picture you’ve already created.
That’s it! Ever notice how you procrastinate on something for months, and then once you have a plan and get started, you wonder why you put it off and let it stress you out?
Here’s your recap:
1. Define the intended/hopeful outcome for your room update.
2. Make a plan by getting your vision on paper. Include key elements
you want to change and a proposed budget for each.
3. Consider the details, revisit your plan, update it, and GO!
Deciding on your end game, doing some upfront planning, considering the details, and then committing all of that to paper are all you need to do to get your project off to a successful start. You’ve probably been thinking about your project as you read this, so technically you’ve already started and know what you need to do next.
If you would like to know more about our kitchen makeover, including sources and colors or you’re interested in a room makeover planning template, please subscribe, and you’ll be the first to know when these posts are published. Thanks for reading! I’ve also linked all the products we used below!

xo Mary


Maria
Great post! Plan? what plan? Thanks for sharing why the plan is necessary:)
Mary
Hi Maria! Thanks for reading! A room planning template includes more detailed areas for planning and budgeting so that everything is considered in the first stage. If you don’t see a need for a template, you may already be pro enough to tackle your project without one!